Resource Actions
ADS enables power users to create extra UI functionality for end-users on top of the core EDG product via the Explore and Modify drop-down buttons in the editor form.
Process to Define Explore and Modify Actions
An Explore action (dash:ExploreAction) allows for the definition of viewer functionality for a selected resource, meaning that no changes to the graph can be made.
On the other hand the Modify actions (dash:ModifyAction) allow the data to be changed.
Such new functionality is defined in an ontology and attached to a node shape via the dash:resourceAction predicate.
Parameters can be defined for these custom resource actions.
EDG automatically renders the right UX input components based on the parameter’s type.
For example, if the data type is a string, then a standard input text box is provided.
If on the other hand, the parameter is defined to be a type of a particular class, then EDG provides a select drop-down box that is automatically populated with instances of that class.
Other customisations include the possibility of grouping different resource actions together (dash:actionGroup), and to provide an icon (dash:actionIconClass) to the newly defined function.
Note
These Modify and Explore actions can be used instead of custom plugins for the Import, Export and Transform tabs of TopBraid.
Hint
In order to have custom actions that apply to a whole asset collection, the defined action can be attached using dash:resourceAction to the class owl:Ontology so that it will show up in Explore or Modify menus of the “Home” asset of the collection.
The following subsections show example resource actions. More examples can be found in Resource Actions.
Custom Explore Action Example
The following example shows how the custom shape scripts defined earlier on the g:City node shape can be encapsulated within an explore action and become available in the form’s Explore drop-down.
The image below shows the definition of the explore action in the TopBraid Examples Geo Ontology.
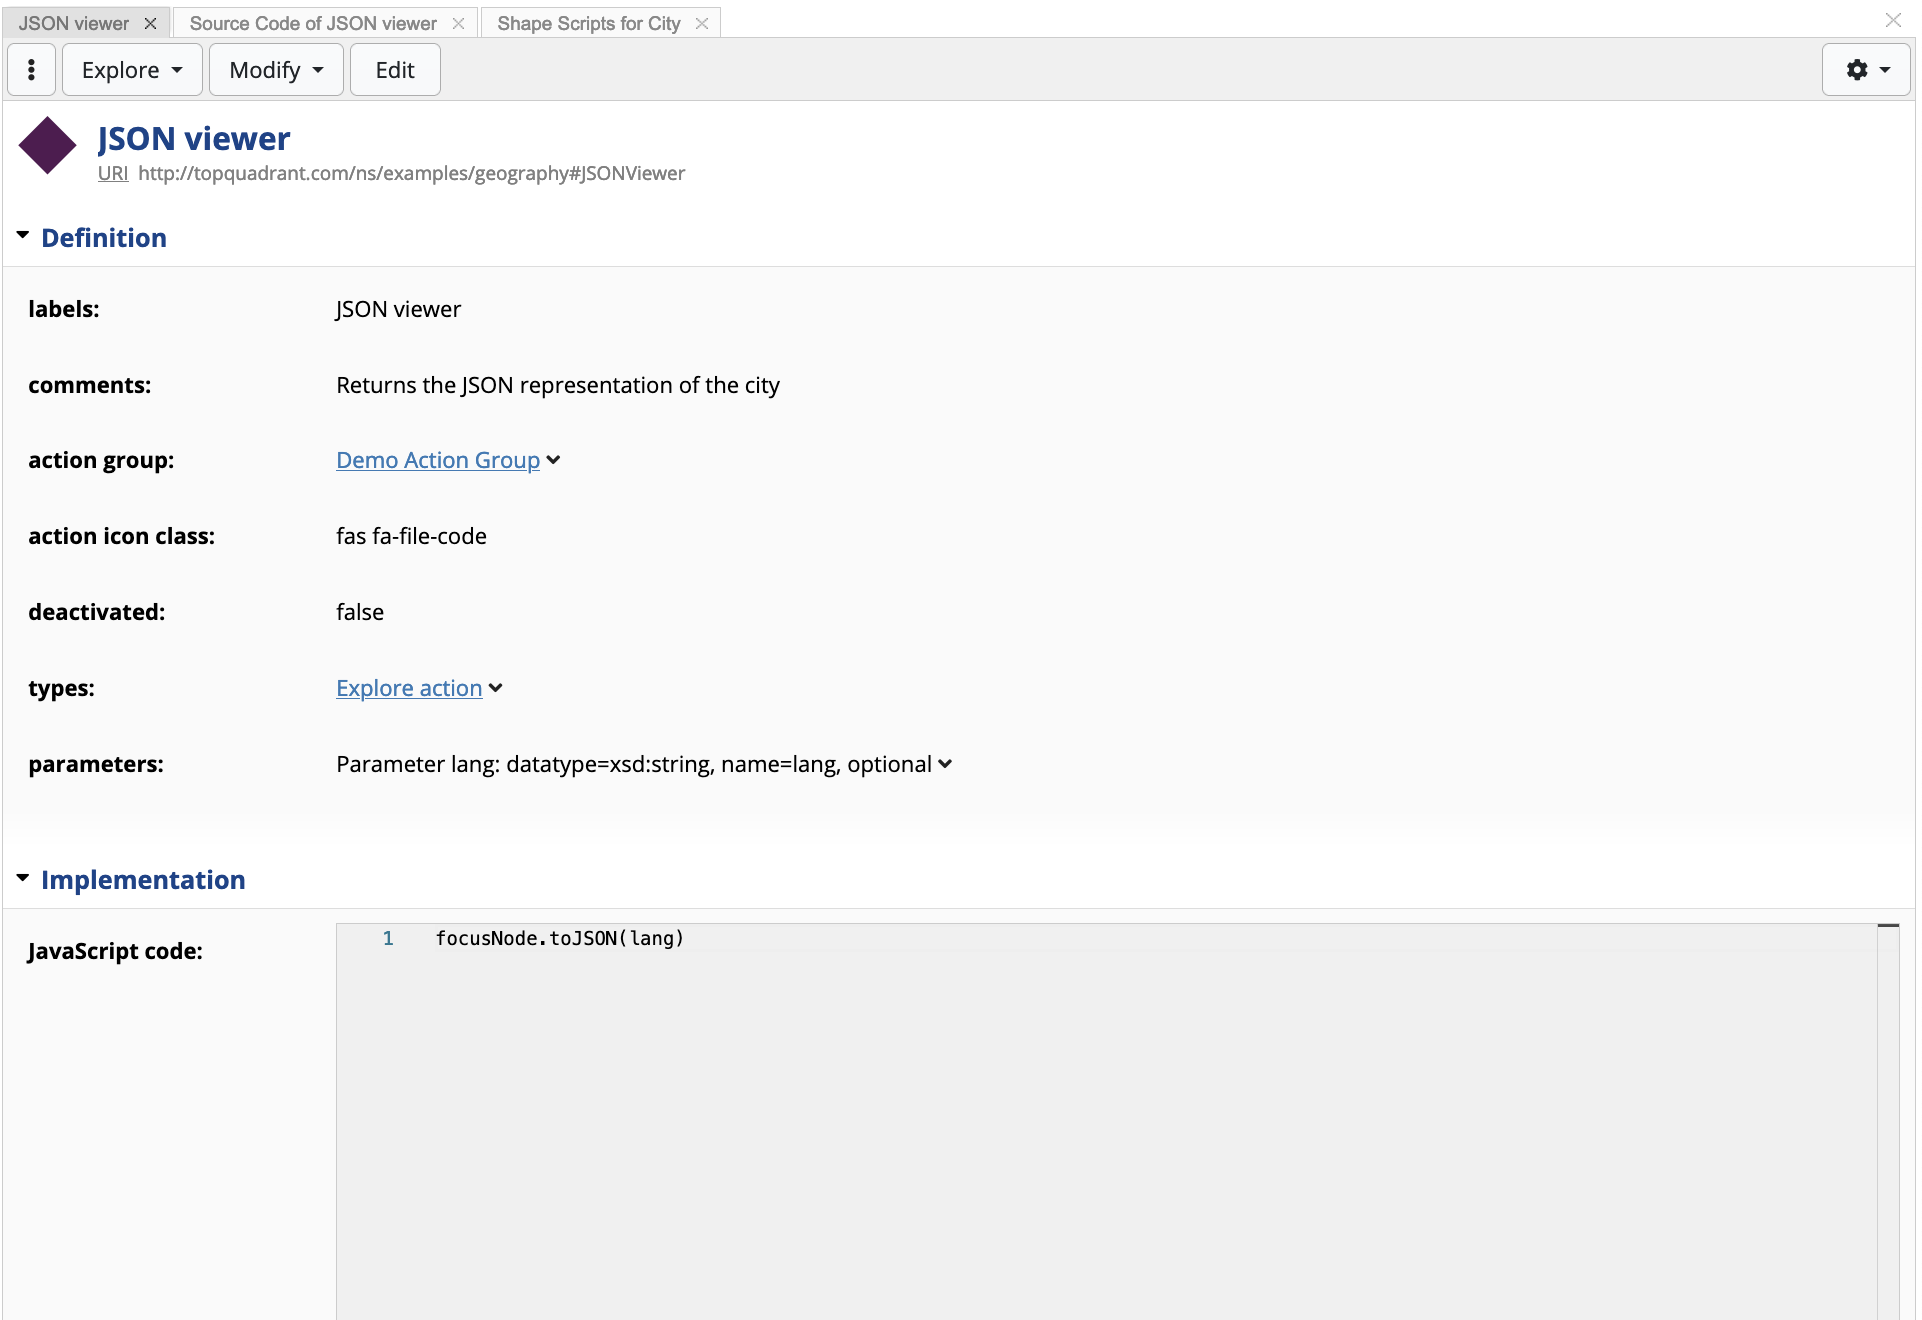
Creating an Explore Action
The JavaScript code is simply focusNode.toJSON(lang), where focusNode is the selected resource, lang is the parameter defined for the explore action, whilst toJSON(...) is the defined shape script on the City class.
Back in the Geography Taxonomy, once a city is selected, EDG will render the new custom resource action in the Explore drop-down.
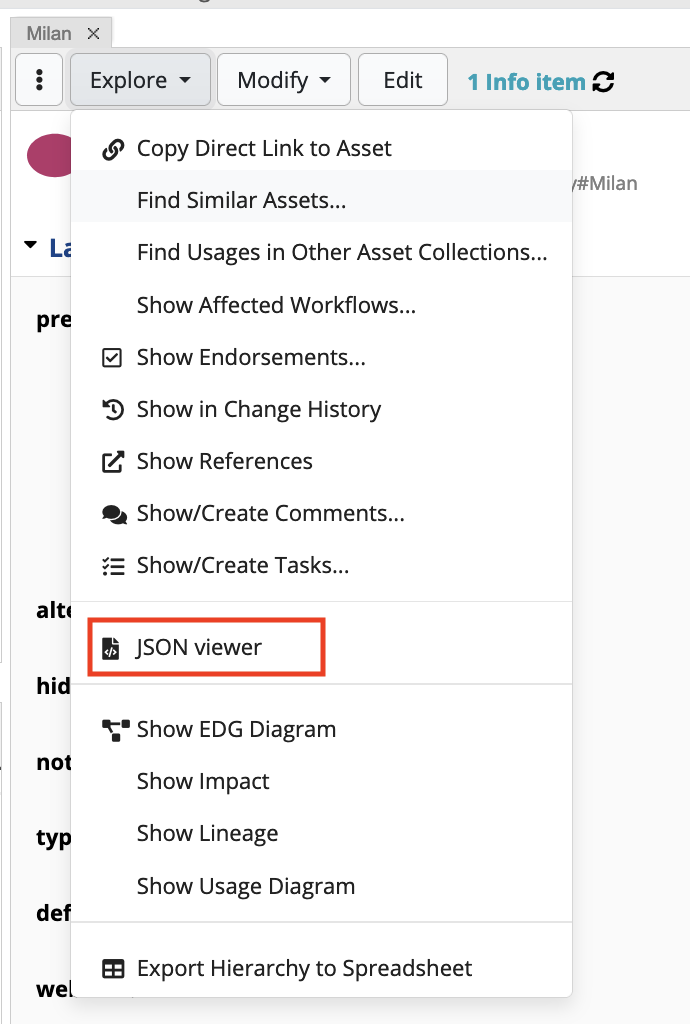
JSON Viewer (custom explore action) rendered in the Explore Drop-down
Selecting the new Explore option, EDG renders any parameters first in a dialog box, in this case a text box where the language tag can be entered:
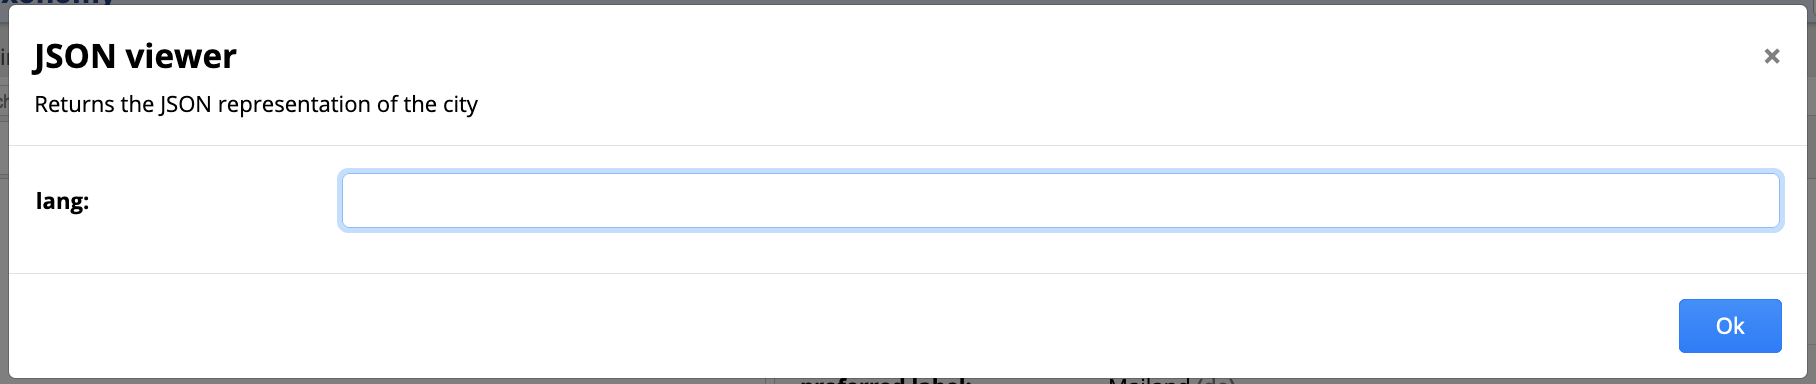
Language parameter input in dialog box
Finally, EDG renders the result in a dialog box. The rendering can be in the form of a text box (similar to the image below), or tabular. This depends on the type of results the explore function returns.
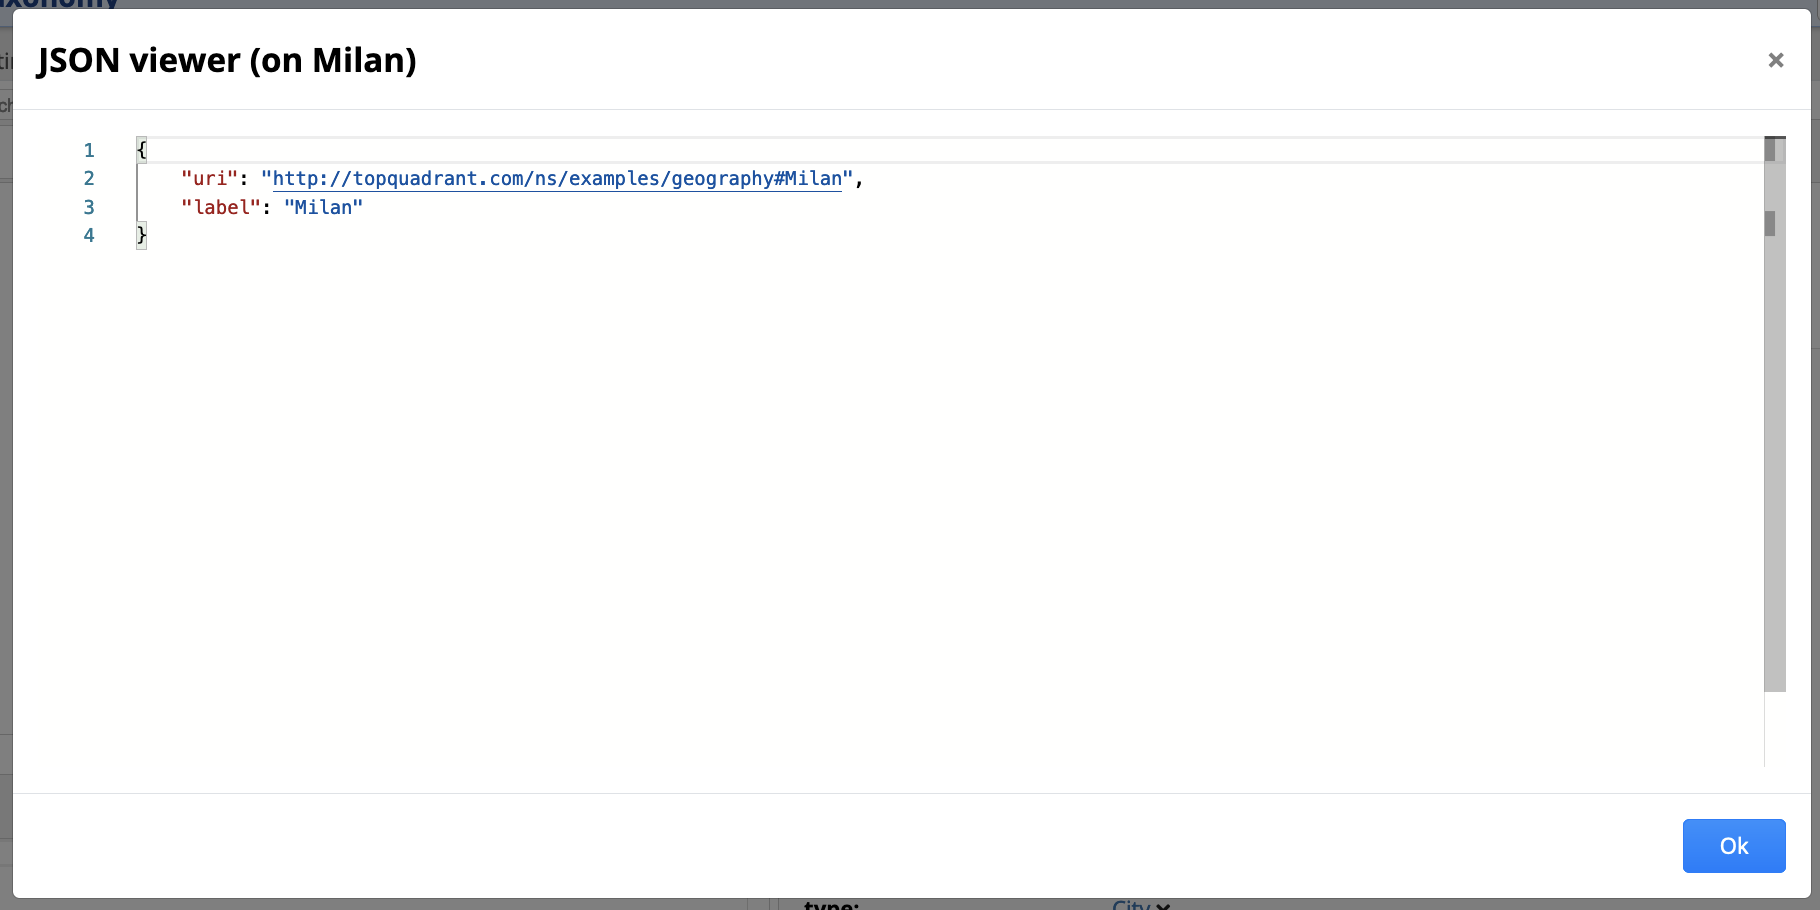
Rendering results for the defined JSON viewer
Custom Import Script Example
Here we cover the topic of resource actions that allow users to upload and process files.
You can attach such resource actions to any class where it makes sense.
For example if your importer is aimed at defining instances of g:City which then become narrower concepts of a parent g:Country then you may want to attach your resource action to the g:Country class.
The variable focusNode can in that case be used to access the currently selected g:Country.
If you don’t really need a focus node, you could decide to attach the resource action to the class owl:Ontology, which would make it show up for the Home resource of your asset collection.
Resource actions that perform a file import should be instances of dash:ModifyAction, because they require write access to the data.
Other actions that accept an uploaded file, for example just to produce a report or HTML page, may be dash:ExploreActions.
In order to enable file uploads, use the property dash:mimeTypes at one or more sh:Parameter declarations.
The value of that property must be a single comma-separated string of well-known mime types.
The following table summarizes the most common file types:
File Type |
Mime Types string |
|---|---|
JSON Files |
application/json |
Spreadsheets |
.csv,.tsv,application/vnd.ms-excel,application/vnd.openxmlformats-officedocument.spreadsheetml.sheet |
XML Files |
application/xml |
The wizard to create parameters has a built-in convenience for these types:
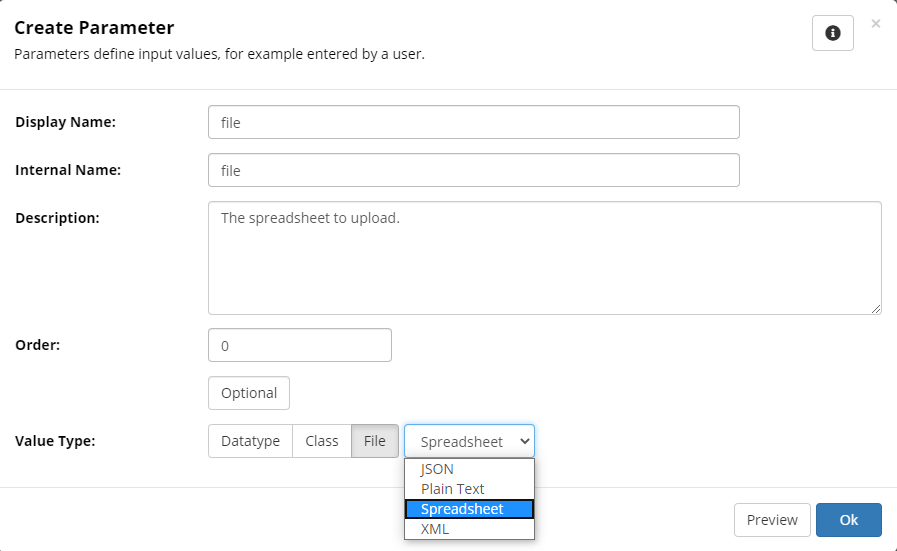
The dialog to define parameters that represent uploaded files
A complete example is shown below:
 1g:Country
 2	...
 3	dash:resourceAction g:ImportCitiesAction .
 4
 5g:ImportCitiesAction
 6	a dash:ModifyAction ;
 7  	rdfs:label "Import cities..." ;
 8	dash:actionGroup g:ActionGroup ;
 9	sh:parameter [
10		a sh:Parameter ;
11		sh:path g:file ;
12		dash:mimeTypes ".csv,.tsv" ;
13		sh:datatype xsd:string ;
14		sh:description "The spreadsheet to upload." ;
15		sh:name "file" ;
16	] ;
17	dash:js """
18let s = graph.uploadedFile(file).asSpreadsheet();
19for(let i = 0; i < s.rowCount(); i++) {
20    let row = s.row(i);
21    let city = g.createCity({
22        uri: 'http://topquadrant.com/ns/examples/geography#' + encodeURIComponent(row.City),
23        prefLabel: row.City,
24        broader: focusNode,
25        population: row.Population,
26        lat: parseFloat(row.LatLong.split(' ')[0]),
27        long: parseFloat(row.LatLong.split(' ')[1]),
28    })
29    let maoriName = row['Maori Name'];
30    if(maoriName) {
31        city.altLabel = skosxl.createLabel({
32            literalForm: graph.langString(maoriName, 'mi')
33        })
34    }
35}""" .
This action will show up in the Modify menu of a selected g:Country and would open a dialog as shown:
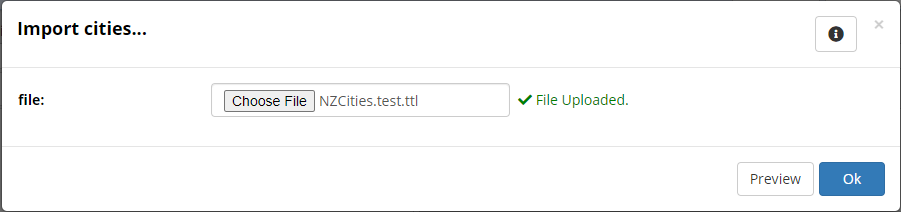
The dialog to upload a file for an import script